Some of my Instagram followers have asked me how I had been taking my photos. To be honest, I am not doing anything special other than using a certain camera mode on my iPhone!
In this article, I will reveal 3 secrets I do to take stunning photos with smartphones. However, I am not an expert in taking photos, so what I will write here will basically be for beginners. Remember, this is my way of taking and editing photos with the iPhone, and it is not always the best way for everyone.
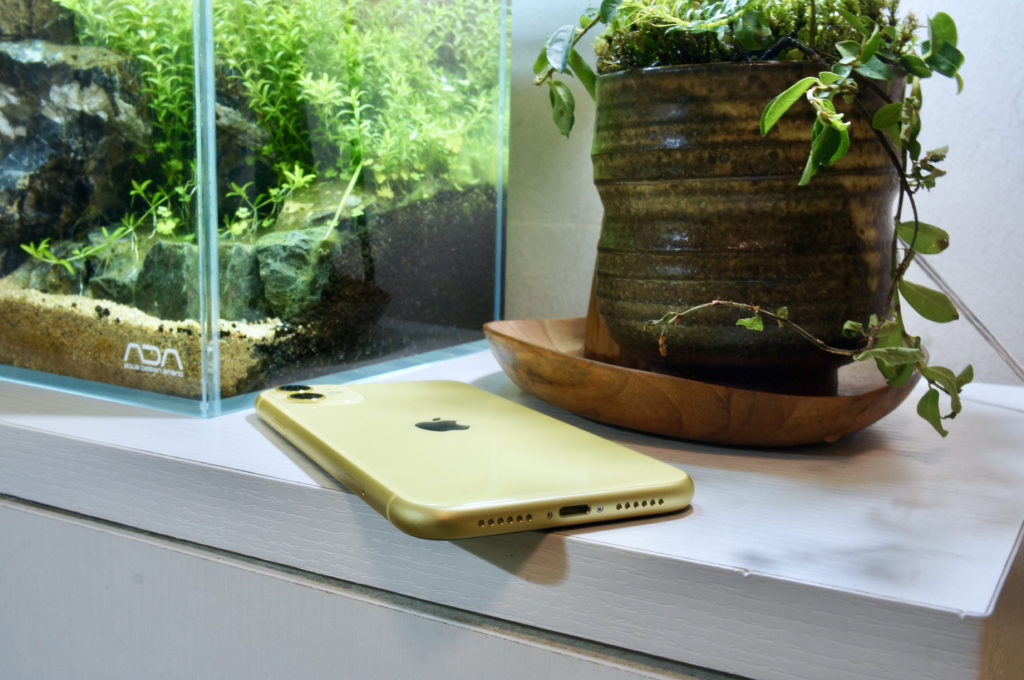
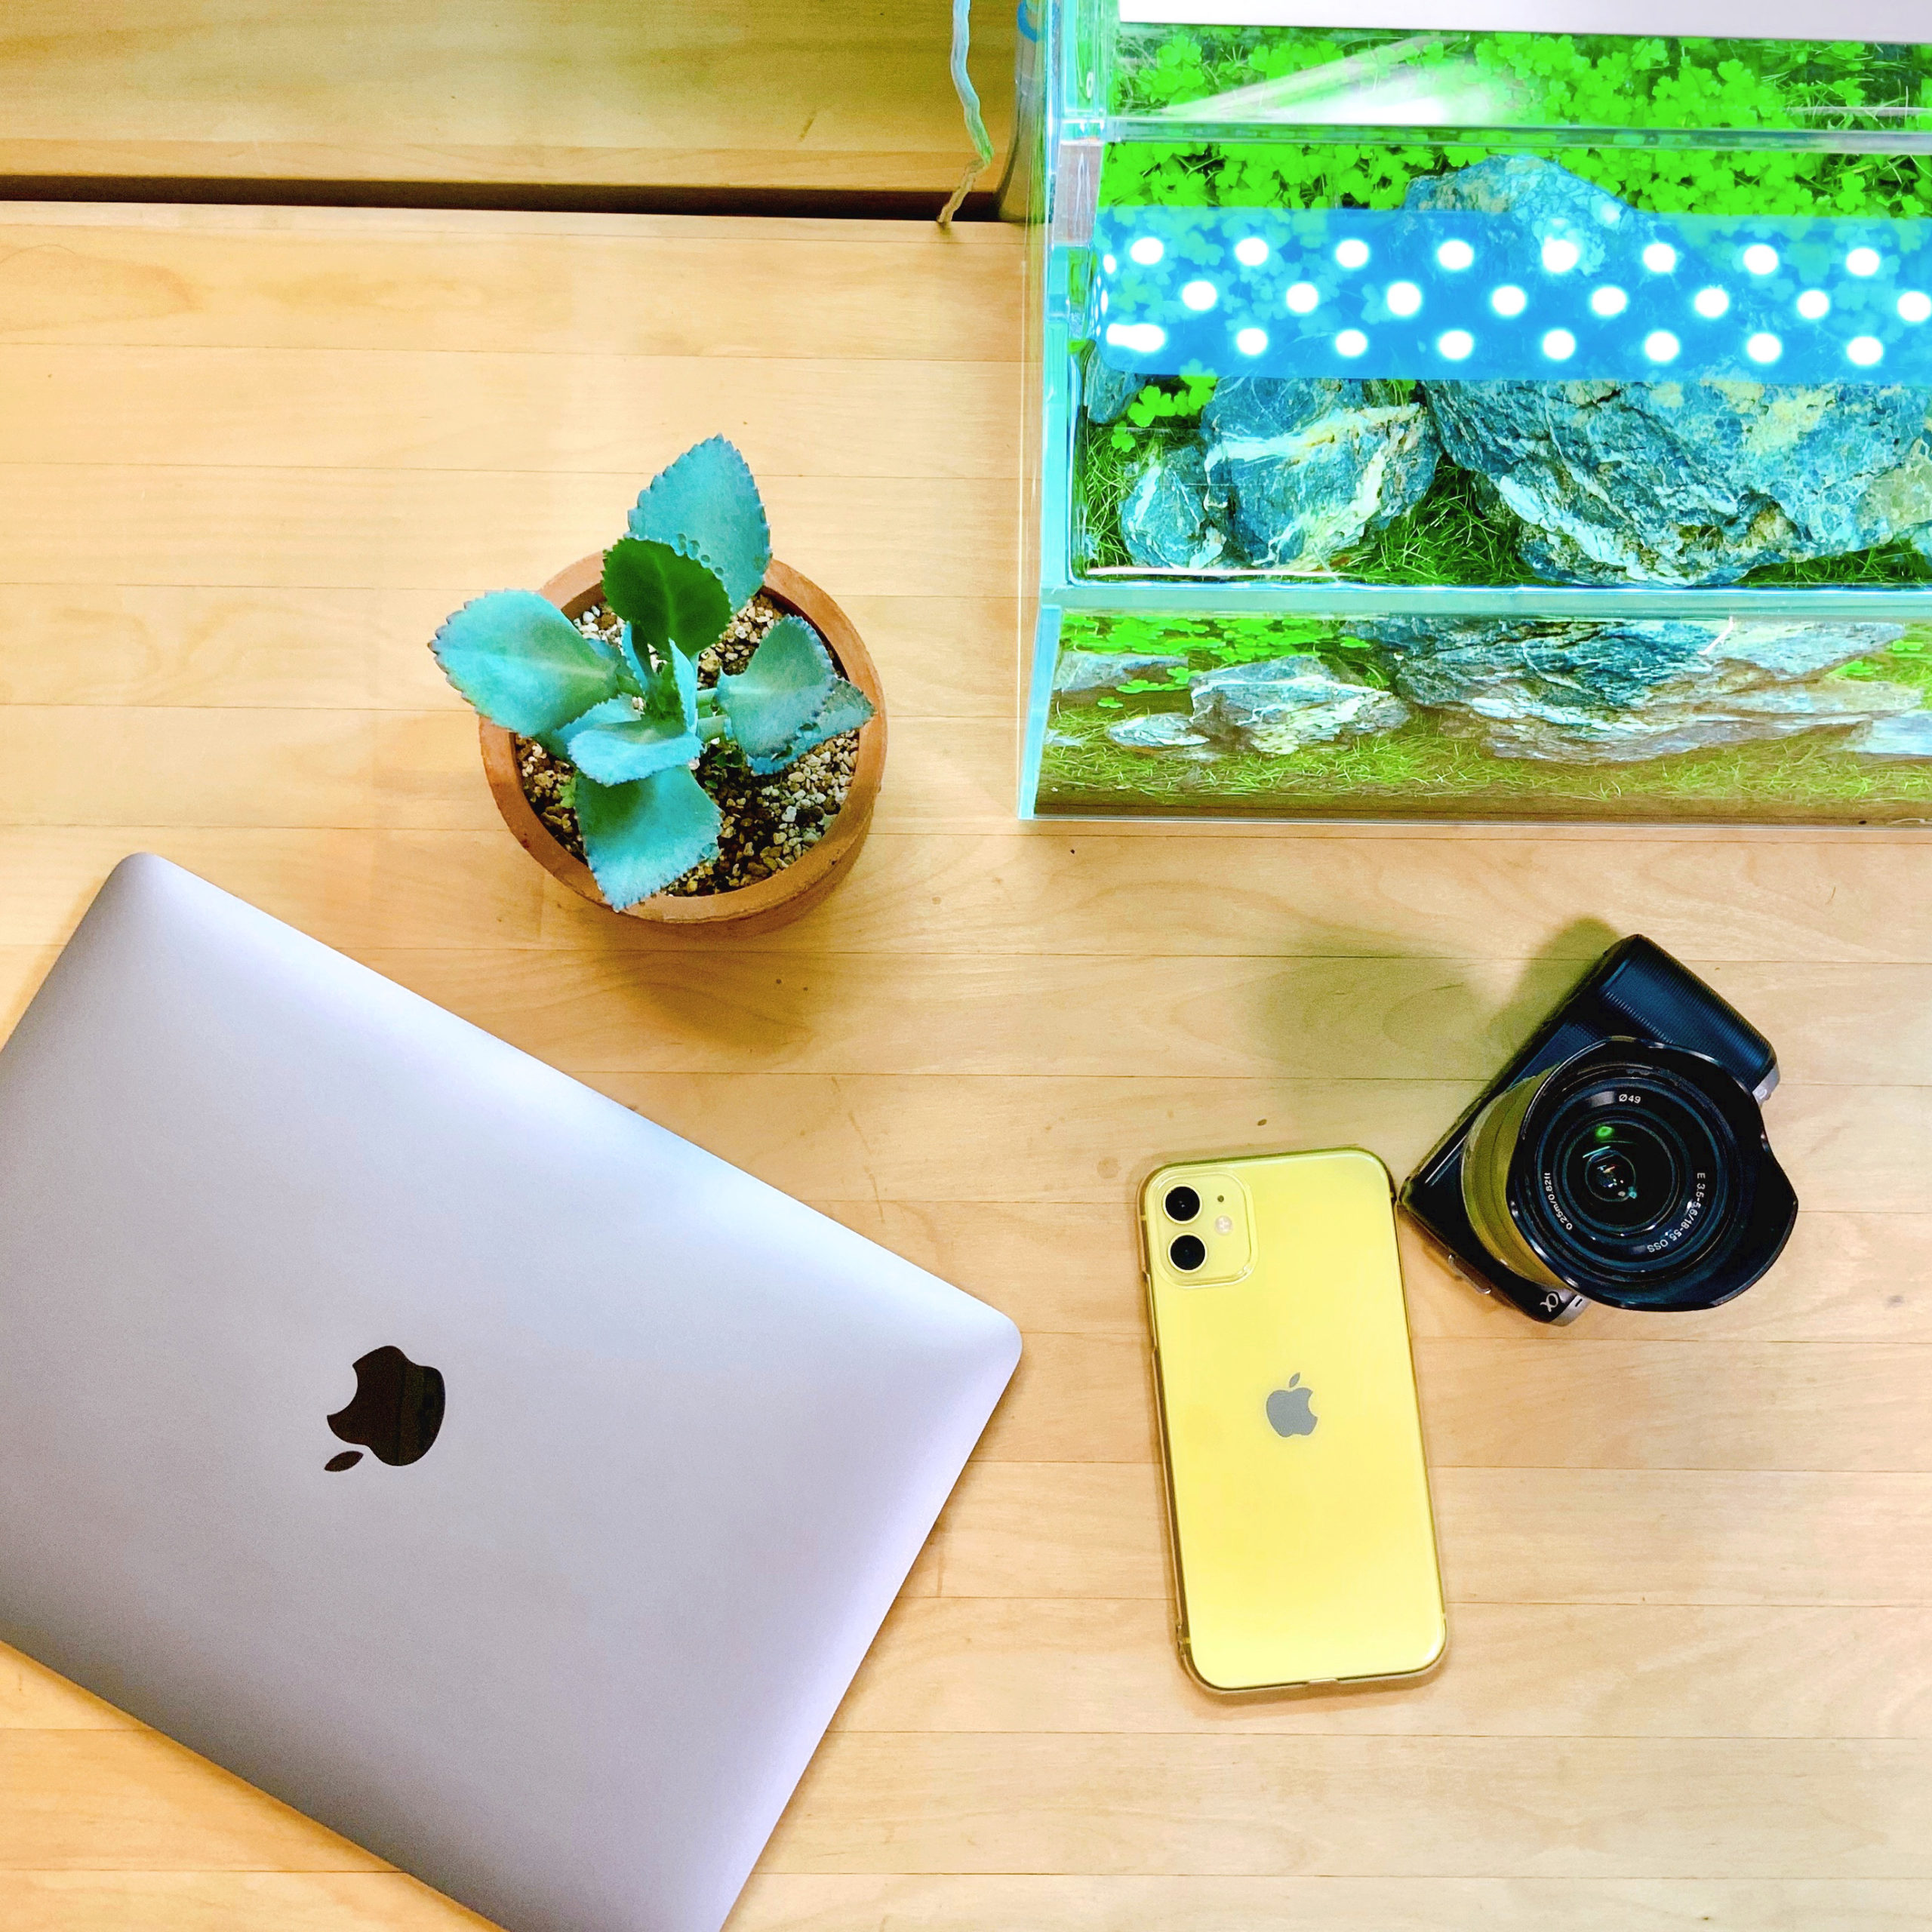
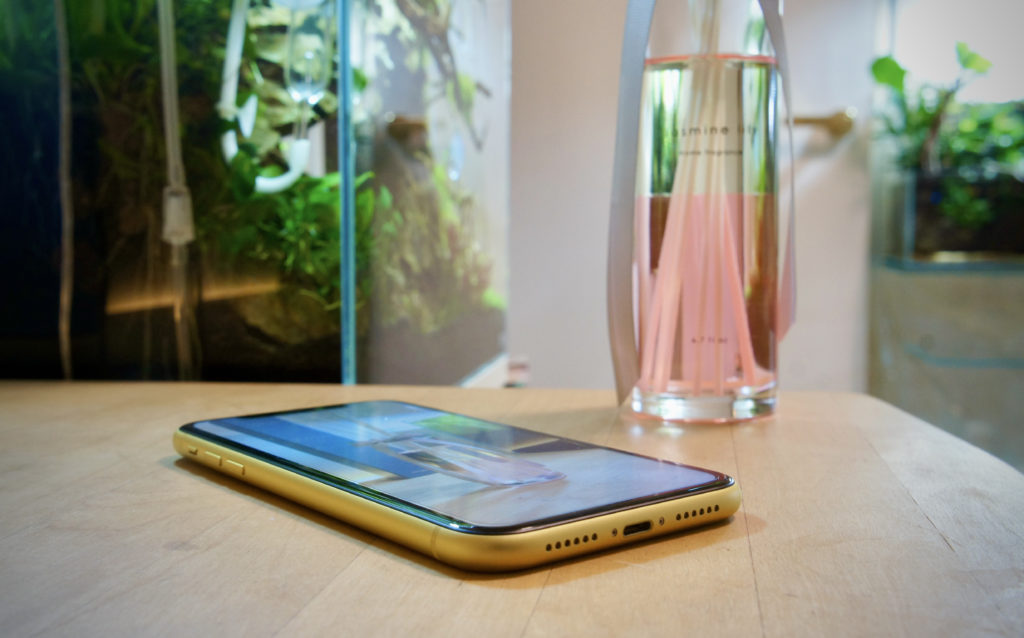
The camera I Use: iPhone 11
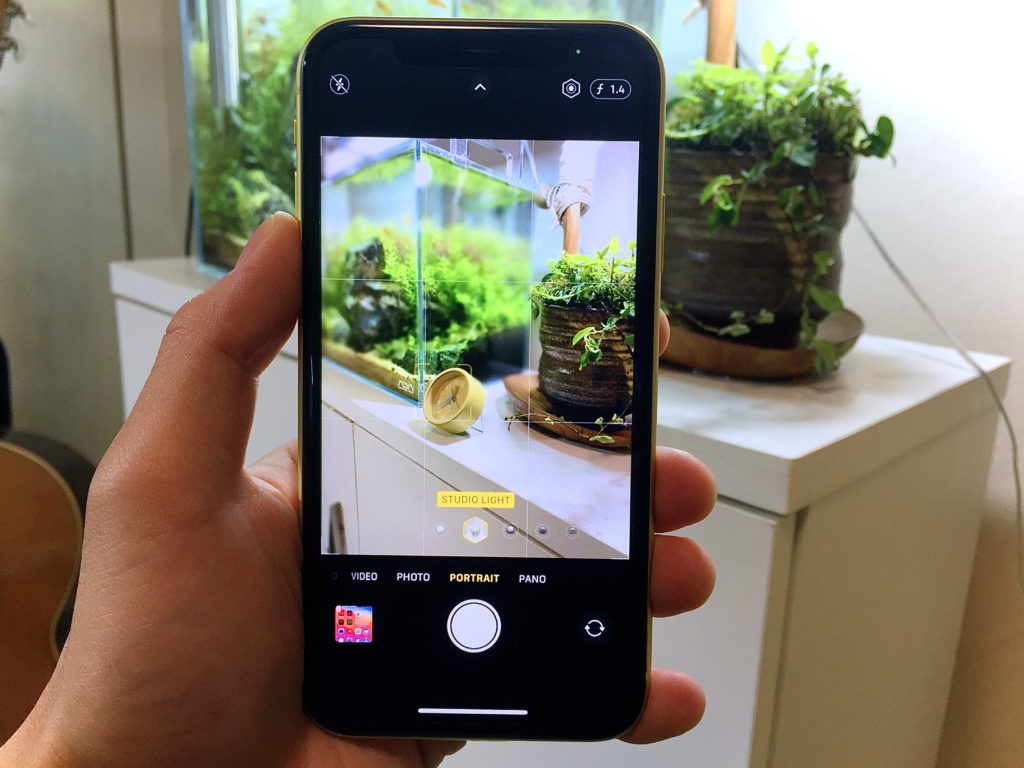
1. Use Portrait Mode
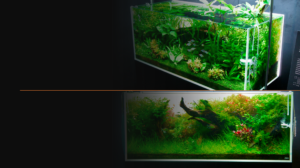
Portrait Mode was introduced as iPhone’s basic function in 2016. It first arrived on the iPhone 7 Plus. What it does is to use artificial intelligence to make the background blurry so that you can take a high-quality photo.
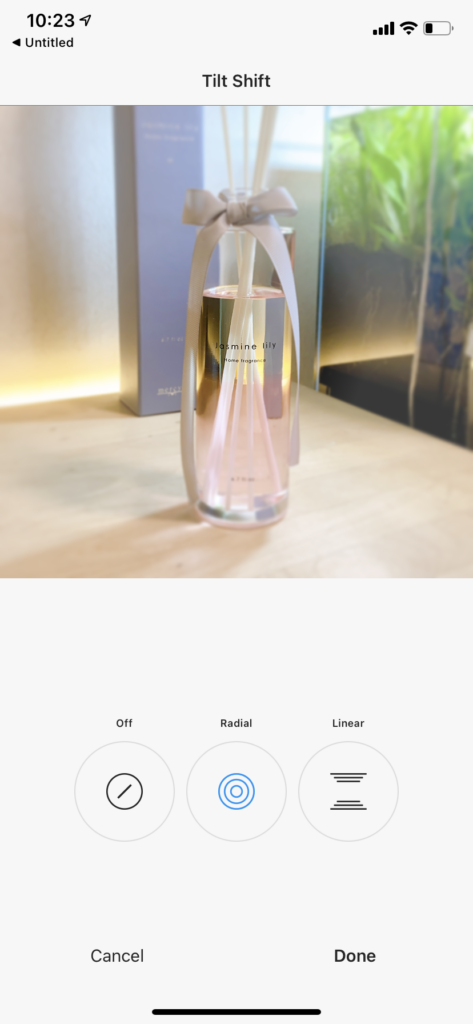
By using third-party apps, you can make your photos look as if they are taken with Portrait Mode.
2. Edit Your Photo
After you have taken your photo, tap ‘Edit’ on the top right corner. Go to ‘Adjust’, and tap ‘Auto.’ And… that’s it! Now you have your beautiful photo even better.
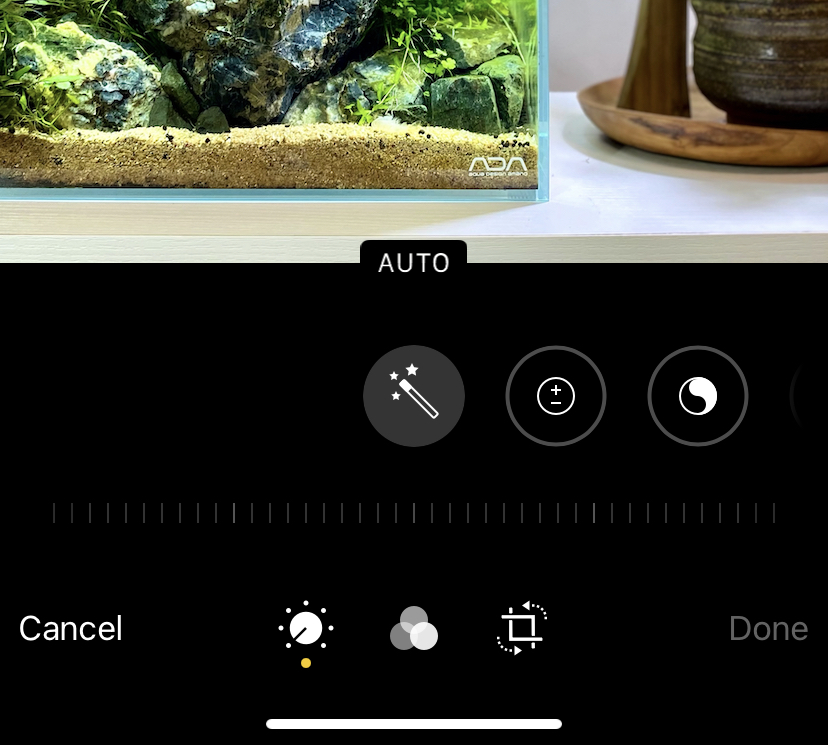
iOS has an incredible adjusting feature, which makes your photos look brilliant. However, if it is not up to your liking, there are more editing you can try.
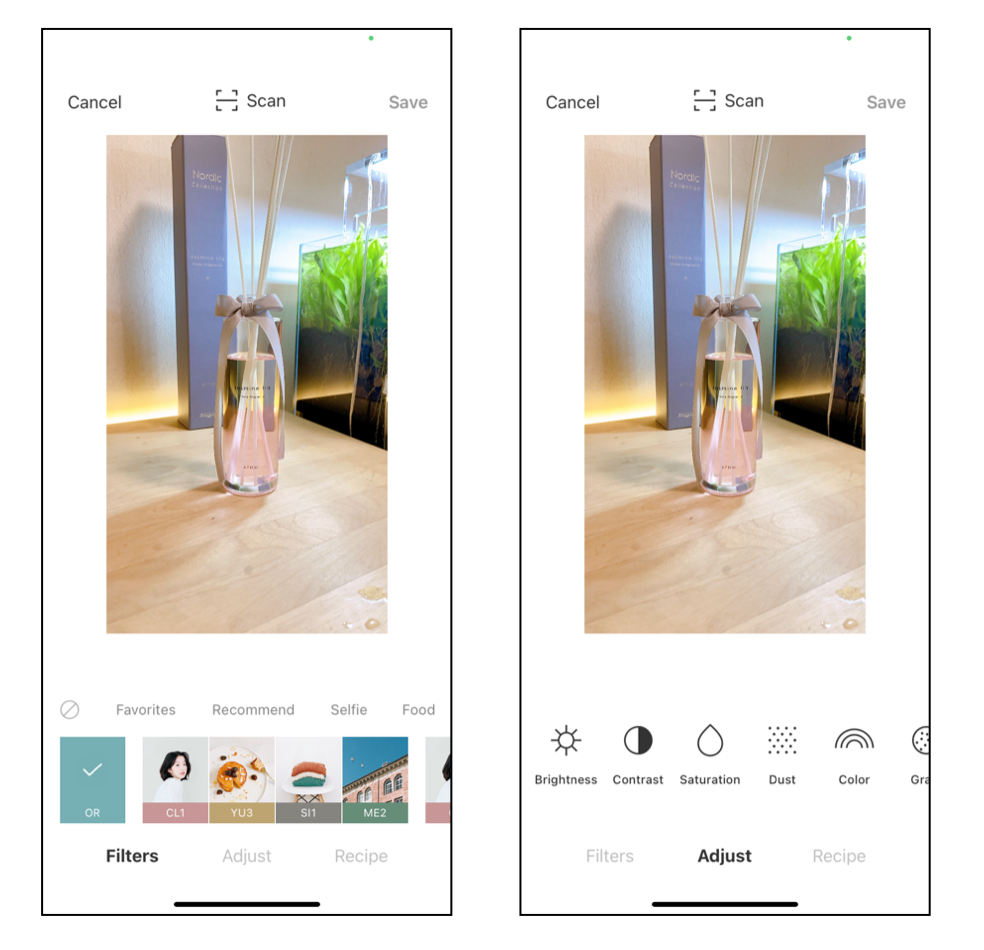
The only third-party App I occasionally use apart from Instagram editing is called ‘Foodie.’ It has an incredible amount of filters and adjustments. Especially for those who want to make your photo look warm and cosy, Foodie is a great App.
3. Edit with MacOS〈/h2〉
Some of my Instagram photos are edited with my MacBook. But what I use is the same photo app that is on the iPhones. The main reason I use my Mac to edit my photo is to set the white point, which is currently unavailable on the iPhone.
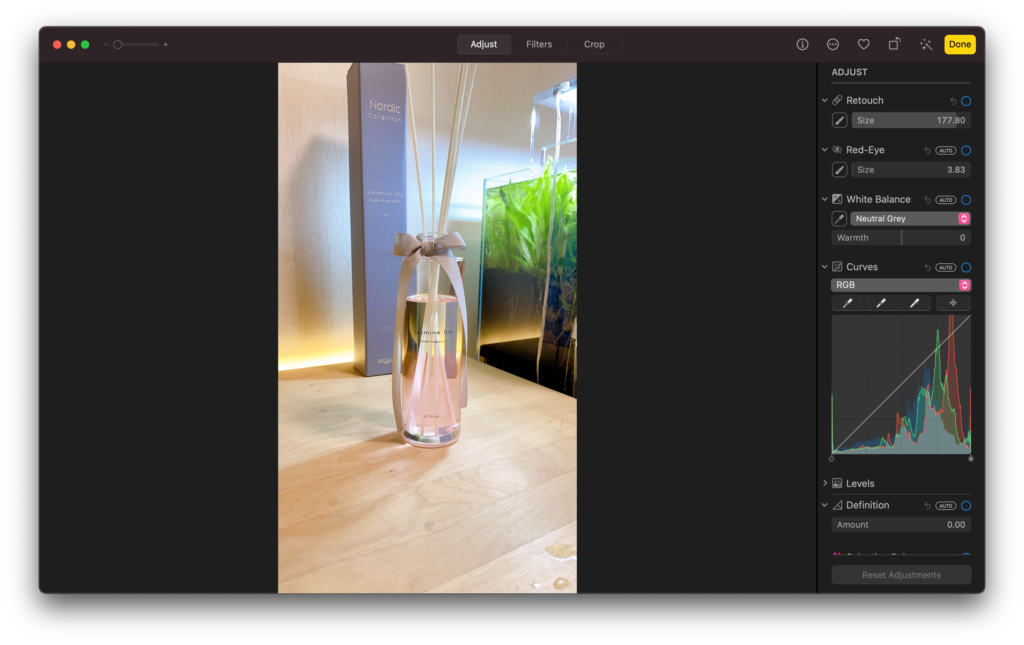
If you have a Mac computer, I recommend you to mess around with the adjustment features first so that you will get an idea of the most suitable way of editing your photos.
Recap
Overall, I usually spend 1-2 minutes taking and editing my photos. I use a decent smartphone and use no special equipment. Nowadays, the quality of smartphone cameras is getting incredibly great. But you must keep in mind that the appearance of your photo depends on your room conditions such as light. If you are having problems with your photos, I highly recommend you to check if there is anything you can do with your room lights. Try turning them on/off and see if it makes any difference. Many of you might have already known the features I mentioned in this article, but literally, this is everything I do to take and edit my Instagram photos. If you are looking for more advanced skills, go ahead and search for the articles on cameras written by professional photographers. I hope this article will help some of you, and thanks so much for the daily likes on my photos!